Deploying Fabric Manager
Spin up Fabric Manager
The fabric manager software allows you to manage resources in three public clouds:
- Microsoft Azure,
- Amazon Web Services (AWS),
- Google Cloud.
You can spin up a virtual machine with the fabric manager software in either Azure or AWS. By default, the fabric manager uses AWS S3 service to store its backup files and AWS Route 53 service for the hosting of orchestrator domain names.
Note
Setting up the fabric manager in either Azure or AWS provides you with the same set of capabilities for resource management in three clouds.
Microsoft Azure
To spin up the fabric manager from Azure Marketplace, simply search for Bayware and click on the “Get It Now” button to begin the process. As you fill out the required Azure forms, keep in mind that Bayware recommends using B2s machine type.
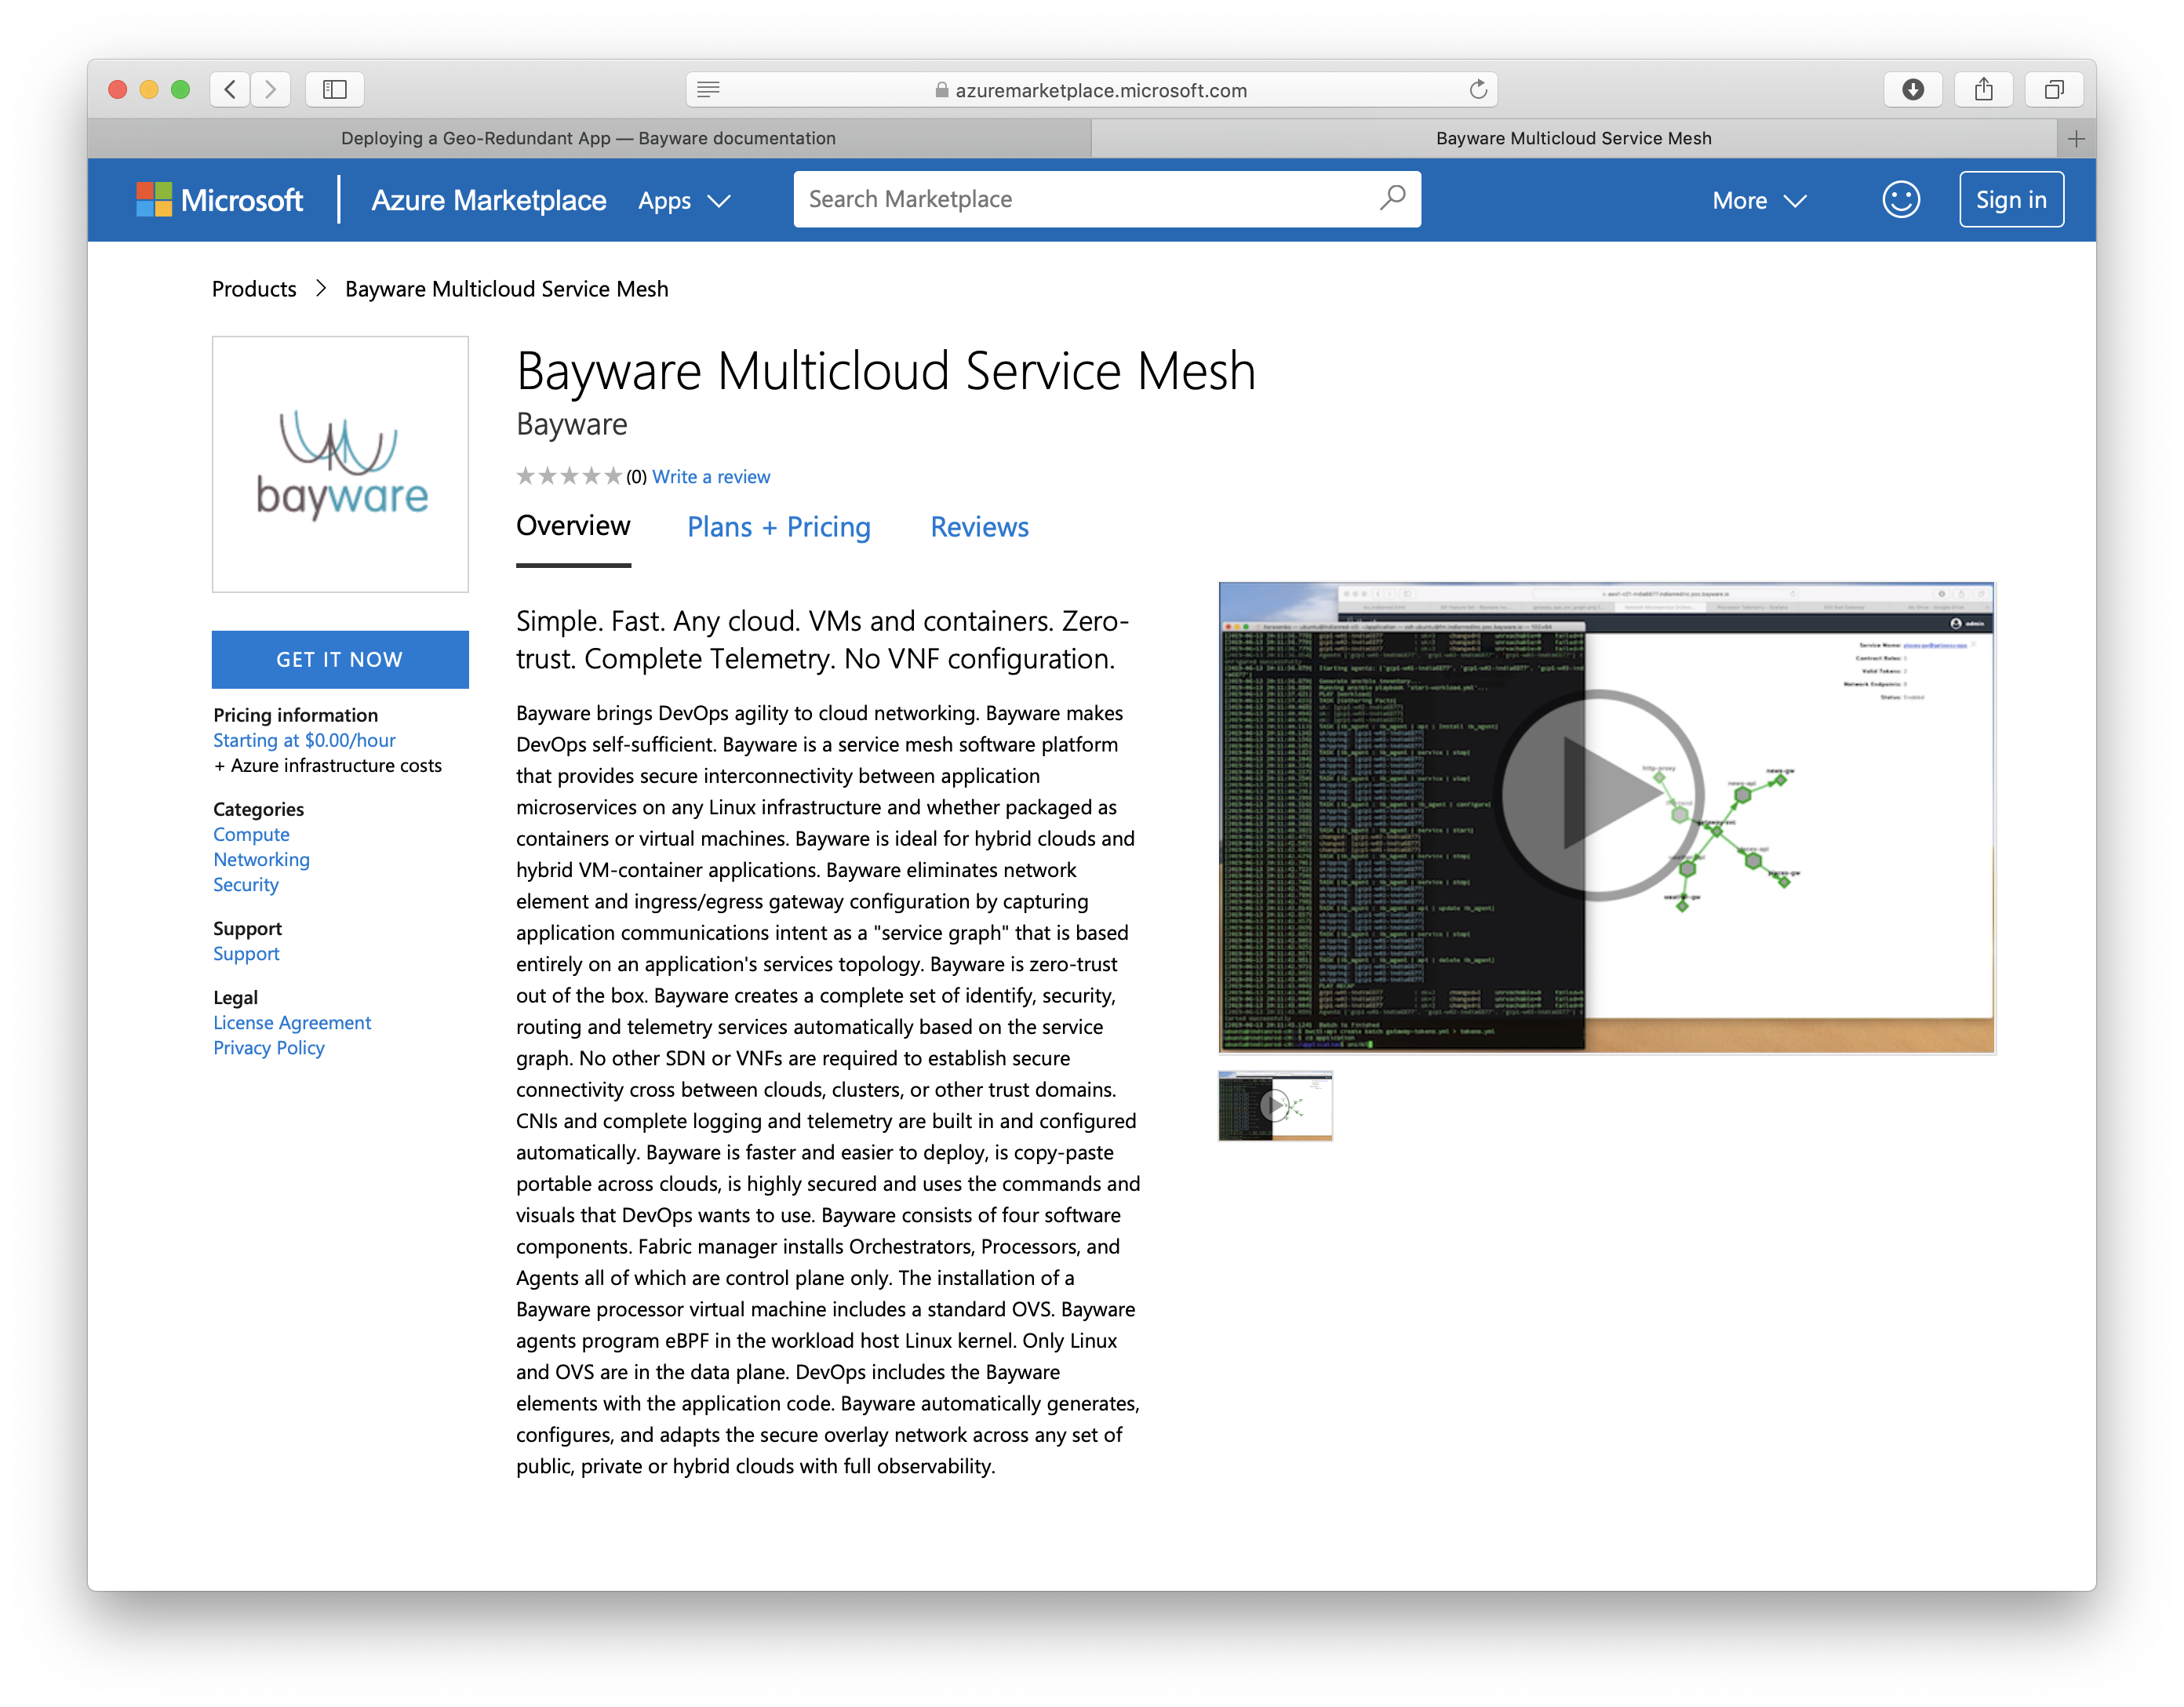
Fig. 117 Azure Fabric Manager marketplace offering
Amazon Web Services (AWS)
To spin up the fabric manager in AWS, sign into the AWS Console, select
Services > EC2 on the left side of the page and ensure you are in your desired
AWS region shown in the upper right.
Now click the Launch Instance button. On the subsequent page, select
Community AMIs and type the search box bayware-c0 to find the latest fabric
manager image.
Note
The fabric manager image has always the name built as follows: bayware-c0-<version>,where the version comprises three parts – two with a family number and one image version within the family, for example bayware-c0-v1-2-8.
Select the image and continue through the rest of the AWS launch process. We recommend using t2.medium as machine type.
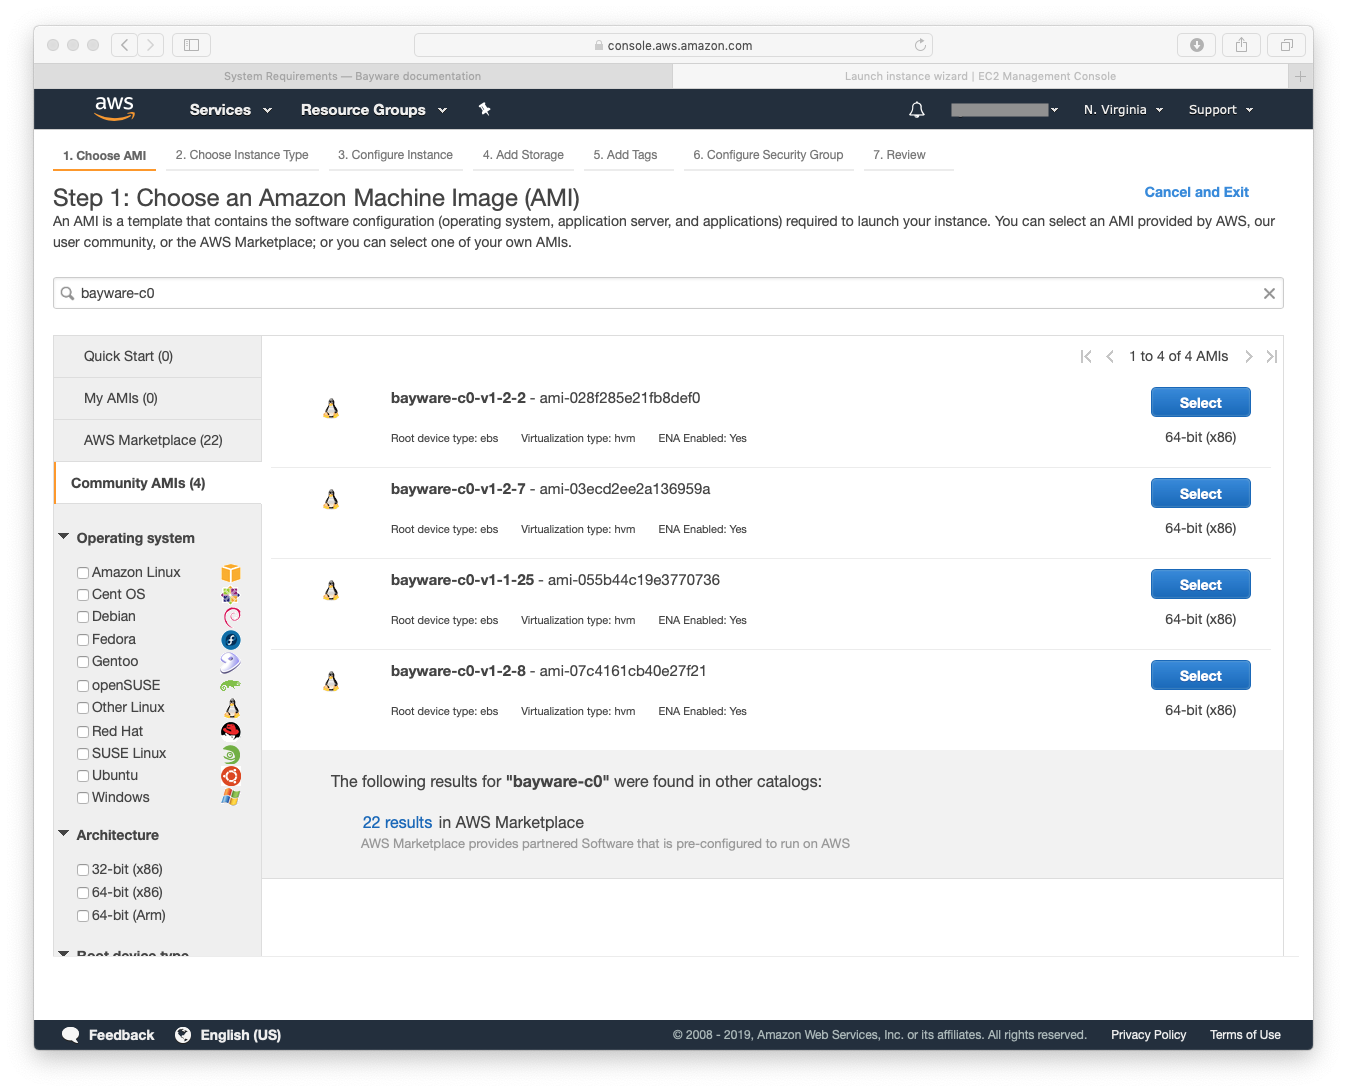
Fig. 118 AWS Fabric Manager Community AMI offering
Update BWCTL CLI Tool
Upon successfully completing the creation of the new VM image, it is time to
update all necessary packages and dependencies for BWCTL. To do this, you will
need to SSH into your newly created VM and switch to root level access to
update all packages as such:
]$ sudo su -
Next, to update BWCTL, run the command:
]# pip3 install --upgrade bwctl
To update the BWCTL-resources package, run the command:
]# pip3 install --upgrade bwctl-resources
To exit from the current command prompt once you have completed updating, run the command:
]# exit
Configure BWCTL
Next, it’s time to create the BWCTL environment in the home directory of the
current user (ubuntu).
First, start BWCTL running the command:
]$ bwctl init
You should see this output:
[2019-09-25 17:30:12.156]  Welcome to bwctl initialization
[2019-09-25 17:30:12.156]  Fabric manager
[2019-09-25 17:30:12.156]   Company name (value is required):
In interactive mode, provide all required values when prompted.
Note
Press <Enter> to accept the default values.
After the initialization you should have a configuration similar to:
[2019-09-25 17:30:12.156]  Welcome to bwctl initialization
[2019-09-25 17:30:12.156]  Fabric manager
[2019-09-25 17:30:12.156]   Company name (value is required): myorg3
[2019-09-25 17:30:30.113]  Global
[2019-09-25 17:30:30.113]   Cloud providers credentials file [~/.bwctl/credentials.yml]:
[2019-09-25 17:30:34.004]   DNS hosted zone (value is required): poc.bayware.io
[2019-09-25 17:30:37.325]   Debug enabled [true]:
[2019-09-25 17:30:42.062]   Production mode enabled [true]:
[2019-09-25 17:30:44.548]   Marketplace images to be used [false]:
[2019-09-25 17:30:48.624]  Components
[2019-09-25 17:30:48.624]   Family version [1.2]:
[2019-09-25 17:30:51.959]  Cloud storage
[2019-09-25 17:30:51.959]   Store bwctl state on AWS S3 [false]:
[2019-09-25 17:30:58.786]   Store terraform state on AWS S3 [true]:
[2019-09-25 17:31:05.633]    AWS S3 bucket name [terraform-states-sandboxes]:
[2019-09-25 17:31:12.933]    AWS region [us-west-1]:
[2019-09-25 17:31:15.876]  SSH keys
[2019-09-25 17:31:15.876]   SSH Private key file []:
[2019-09-25 17:31:21.268]  Configuration is done
To view the file with your cloud provider credentials, cat to where the cloud
credentials.yml file was specified during the initialization by running the
command with the path to the file–in this example
/home/ubuntu/.bwctl/credentials.yml –as argument:
]$ cd /home/ubuntu/.bwctl/credentials.yml
You should see this output:
---

# Add cloud-provider credentials that will be used when creating
# infrastructure and accessing repositories.

aws:
  # In the AWS console, select the IAM service for managing users and keys.
  # Select Users, and then Add User.  Type in a user name and check
  # programmatic access.  Users require access to EC2, S3, and Route53.
  # Copy and paste the secret access key and key ID here.
  aws_secret_access_key:
  aws_access_key_id:
azr:
  # Azure provides detailed steps for generating required credentials
  # on the command line, which you can find at this URL:
  # https://docs.microsoft.com/en-us/azure/virtual-machines/linux/terraform-install-configure#set-up-terraform-access-to-azure
  azr_client_id:
  azr_client_secret:
  azr_resource_group_name:
  azr_subscription_id:
  azr_tennant_id:
gcp:
  # Google uses a GCP Service Account that is granted a limited set of
  # IAM permissions for generating infrastructure.  From the IAM & Admin
  # page, select the service account to use and then click "create key"
  # in the drop-down menu on the right.  The JSON file will be downloaded
  # to your computer.  Put the path to that file here.
  google_cloud_keyfile_json:
Use your editor of choice (ex: vim, nano) to add your public cloud credentials
to credentials.yml.
Create Fabric
The next step is to create a fabric. The fabric acts as a namespace into which your infrastructure components will be deployed.
Note
The fabric manager allows you to create multiple fabrics to isolate various applications or different environments.
To get started, SSH into your Fabric Manager VM and enter the BWCTL command prompt:
]$ bwctl
You should be at the bwctl prompt:
(None) bwctl>
Now, to create a new fabric, run the command with your fabric name–in this
example myfab2 –as the argument:
(None) bwctl> create fabric myfab2
You should see output similar to:
[2019-09-25 17:33:24.563]  Creating fabric: myfab2...
...
[2019-09-25 17:33:29.901]  Fabric 'myfab21' created successfully
To configure the fabric, run the command with your organization name–in this
example myorg2 –as the argument:
(None) bwctl> configure fabric myfab2
You should see output similar to:
[2019-09-25 17:34:29.730]  Install CA for fabric 'myfab2'
...
[2019-09-25 17:34:36.859  Fabric 'myfab2' configured successfully
To verify the new fabric has been created with the argument provided, run the command:
(None) bwctl> show fabric
You should see output similar to:
[2019-09-25 17:35:50.356]  Available fabrics listed.  Use “bwctl set fabric FABRIC_NAME” to select fabric.
  FABRIC
  myfab2
Now, set BWCTL to the new fabric by running this command:
(None) bwctl> set fabric myfab2
You should see output similar to:
[2019-09-25 17:36:22.476] Active fabric: 'myfab2'
Notice that your bwctl prompt has changed, now showing the active fabric:
(myfab2) bwctl>