Deploy Application
Preparation
To deploy an application in your service interconnection fabric, you will need access to the fabric manager and the policy orchestrator.
Note
This tutorial will take approximately 10 minutes to complete.
Generate Token
To generate a new authorization token for your application service, run this
command using service_name@contract_name–in this example
http-proxy@myapp as an argument:
]$ bwctl-api create service_token http-proxy@myapp
You should see output similar to this:
---
apiVersion: policy.bayware.io/v1
kind: ServiceToken
metadata:
  token_ident: 00c1babd-3197-465a-beec-6d144e53d4ef:46a55e4963263260c3d61eb4b4b67882
spec:
  domain: myapp
  expiry_time: 30 Sep 2020 18:41:52 GMT
  service: http-proxy
  status: Active
Warning
Token comprises two parts–token identity and token secret–separated by a colon. This is the only time you can see the token secret. Be sure to copy the entire TOKEN as it appears on your screen, it will be needed later.
Deploy Service
SSH to Workload Node
To deploy the service on the workload node, first ssh to the workload node from your fabric manager as such:
]$ ssh azr2-w01-myfab2
Note
SSH service is set up automatically for easy and secure access to workload nodes in your service interconnection fabric.
When you are on the workload node, switch to root level access:
[ubuntu@azr2-w01-myfab2]$ sudo su -
Add Token
Next, edit the policy agent token file by running this command:
]# nano /opt/bayware/ib-agent/conf/tokens.dat
Add the token to the tokens.dat file and save the file, which in this example will contain after editing:
00c1babd-3197-465a-beec-6d144e53d4ef:46a55e4963263260c3d61eb4b4b67882
To apply the token, reload the policy agent by running this command:
]# systemctl reload ib-agent
At this point, you can visit the policy orchestrator and find a registered endpoint on the Service Graph page of your application.
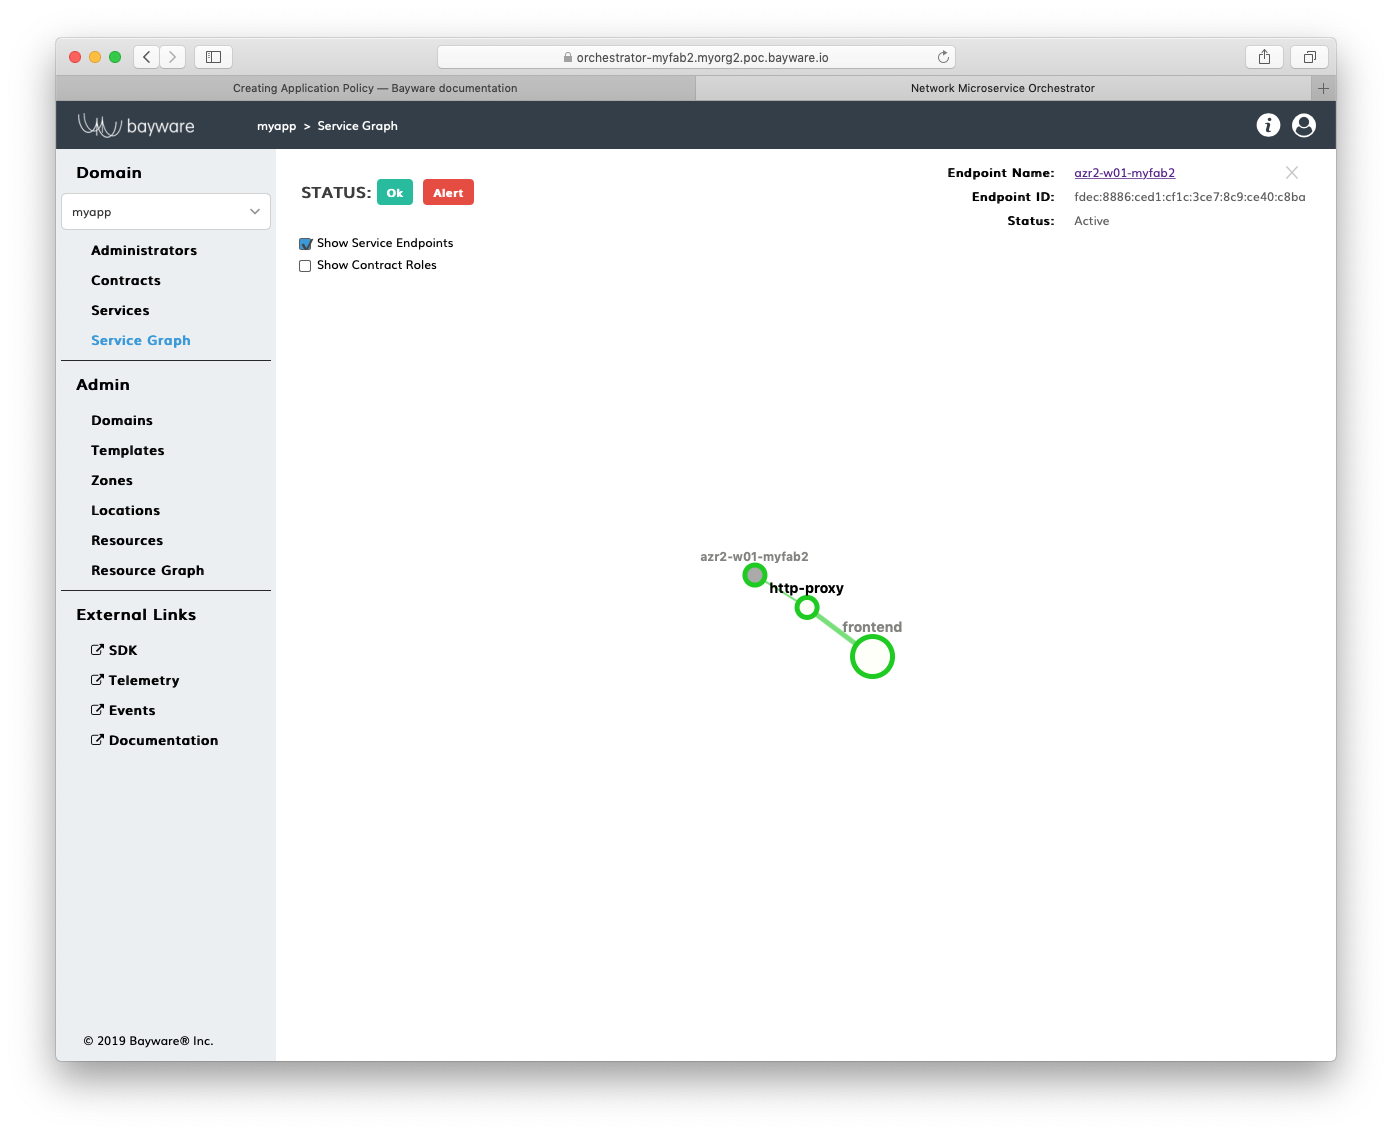
Fig. 15 Fig. Service Graph with Registered Service Endpoint
Install Service
Now, you can install your application service on this workload node. In this
example, a package called getaway-proxy installs by running the command:
]# apt-get install getaway-proxy
The service automatically discovers all remote services sharing the same contract. So, edit the application service configuration file to update the remote service URL, by running this command:
]# nano /opt/getaway-proxy/conf/app.conf
After editing, the service configuration file in this example contains:
WS_APP = 'http://responder.frontend.myapp.ib.loc:8080/'
Note
The FQDN part of remote service URL is automatically built in such a manner: <role>.<contract>.<domain>.ib.loc
Finally, to start the application service, run this command:
]# systemctl start getaway-proxy
Summary
You have successfully installed the application service on the workload node in your service interconnection fabric.
Your application policy for this service is infrastructure-agnostic and allows the service to access only particular security segment. You can move this service across workload nodes in multiple clouds and the security segment will expand or shrink automatically.
The service will automatically discover the opposite-role services in its security segment as those services will go up or down across multiple clouds.