Deploying Orchestrator
You can deploy the orchestrator in any cloud using your fabric manager. From the same fabric manager you can set up multiple fabrics–e.g. one for test environment and another for production–and place each fabric orchestrator in a different cloud or cloud region.
Note
Each service interconnection fabric requires its own orchestrator due to security and availability reasons.
The orchestrator is a microservice-based application itself that runs in Docker containers on one or multiple VMs. When set up in a three node configuration, each orchestrator node plays a role as follows:
- controller node (NB-API, SB-API, resource and application policy);
- telemetry node (InfluxDB and Grafana);
- events node (ElasticSearch, Logstash, and Kibana).
The controller node is the only mandatory component of the orchestrator deployment.
To begin, SSH to your fabric manager.
Set BWCTL to the fabric, in which you need to deploy the orchestrator, by
running this command with the fabric name–in this example myfab2 –as argument:
]$ bwctl set fabric myfab2
Create VPC
After the fabric set, you can create a VPC for hosting of your orchestrator nodes in this fabric.
Note
It is recommended to use a dedicated VPC for the orchestrator deployment only.
Once you are in the BWCTL command prompt, show a list of available VPC regions by running this command:
(myfab2) bwctl> show vpc --regions
You should see the list of the regions, in which you can create your VPC, similar to:
aws:
 ap-east-1
 ap-northeast-1
 ap-northeast-2
 ap-south-1
 ap-southeast-1
 ap-southeast-2
 ca-central-1
 eu-central-1
 eu-north-1
 eu-west-1
 eu-west-2
 eu-west-3
 sa-east-1
 us-east-1
 us-east-2
 us-west-1
 us-west-2
azr:
 australiaeast
 australiasoutheast
 brazilsouth
 canadacentral
 centralindia
 centralus
 eastasia
 eastus
 eastus2
 japaneast
 northcentralus
 northeurope
 southcentralus
 southeastasia
 southindia
 westcentralus
 westeurope
 westus
 westus2
gcp:
 asia-east1
 asia-east2
 asia-northeast1
 asia-northeast2
 asia-south1
 asia-southeast1
 australia-southeast1
 europe-north1
 europe-west1
 europe-west2
 europe-west3
 europe-west4
 europe-west6
 northamerica-northeast1
 southamerica-east1
 us-central1
 us-east1
 us-east4
 us-west1
 us-west2
Now, to create a new VPC for orchestrator nodes, run the command with the cloud and region names–in this example azr and westus, respectively, as an argument:
]$ bwctl> create vpc azr westus
You should see output similar to:
[2019-09-25 17:36:58.649]  Creating VPC: azr1-vpc-myfab2...
...
[2019-09-25 17:38:26.089]  VPCs ['azr1-vpc-myfab2'] created successfully
Note
The VPC name has been autogenerated. Use this name from the command output at the next step.
Create Controller Node
To create a controller node for the orchestrator, run this command with the
orchestrator VPC name–in this example azr1-vpc-myfab2 –as argument:
]$ bwctl> create orchestrator controller azr1-vpc-myfab2
You should see output similar to:
[2019-09-25 17:39:48.091]  Creating new orchestrator 'azr1-c01-myfab2'...
...
[2019-09-25 17:43:56.811]  ['azr1-c01-myfab2'] created successfully
[2019-09-25 17:43:56.840]  Generating SSH config...
Note
The orchestrator node name has been autogenerated. Use this name at the next step.
Next, configure the orchestrator node by running this command with the
orchestrator node name–in this example azr1-c01-myfab2 –as argument:
]$ bwctl> configure orchestrator azr1-c01-myfab2
You should see output similar to:
[2019-09-25 17:44:38.177]  Setup/check swarm manager on orchestrator 'azr1-c01-myfab2'
...
[2019-09-25 17:50:14.166]  Orchestrators: ['azr1-c01-myfab2'] configured successfully
[2019-09-25 17:50:14.166]  IMPORTANT: Here is administrator's password that was used to initialize controller. Please change it after first login
[2019-09-25 17:50:14.166]  Password: RWpoi5RkMDBi
Warning
Be sure to write down the PASSWORD as it appears on your screen, it will be needed later.
To login to the orchestrator, you will use the FQDN of orchestrator northbound interface (NBI).
The FQDN of orchestrator NBI has been auto-generated on the prior step and in this example has the structure as follows:
orchestrator-myfab2.myorg2.poc.bayware.io
Note
The FQDN of orchestrator NBI is always defined in the following manner: orchestrator-<fabric>.<company>.<DNS hosted zone> wherein company and DNS hosted zone are from the fabric management configuration and same for all fabrics.
Authenticate into the orchestrator via a web browser and use the following information:
- Orchestrator URL - FQDN of orchestrator NBI,
- Domain - default,
- Username - admin,
- Password - PASSWORD from the prior step.
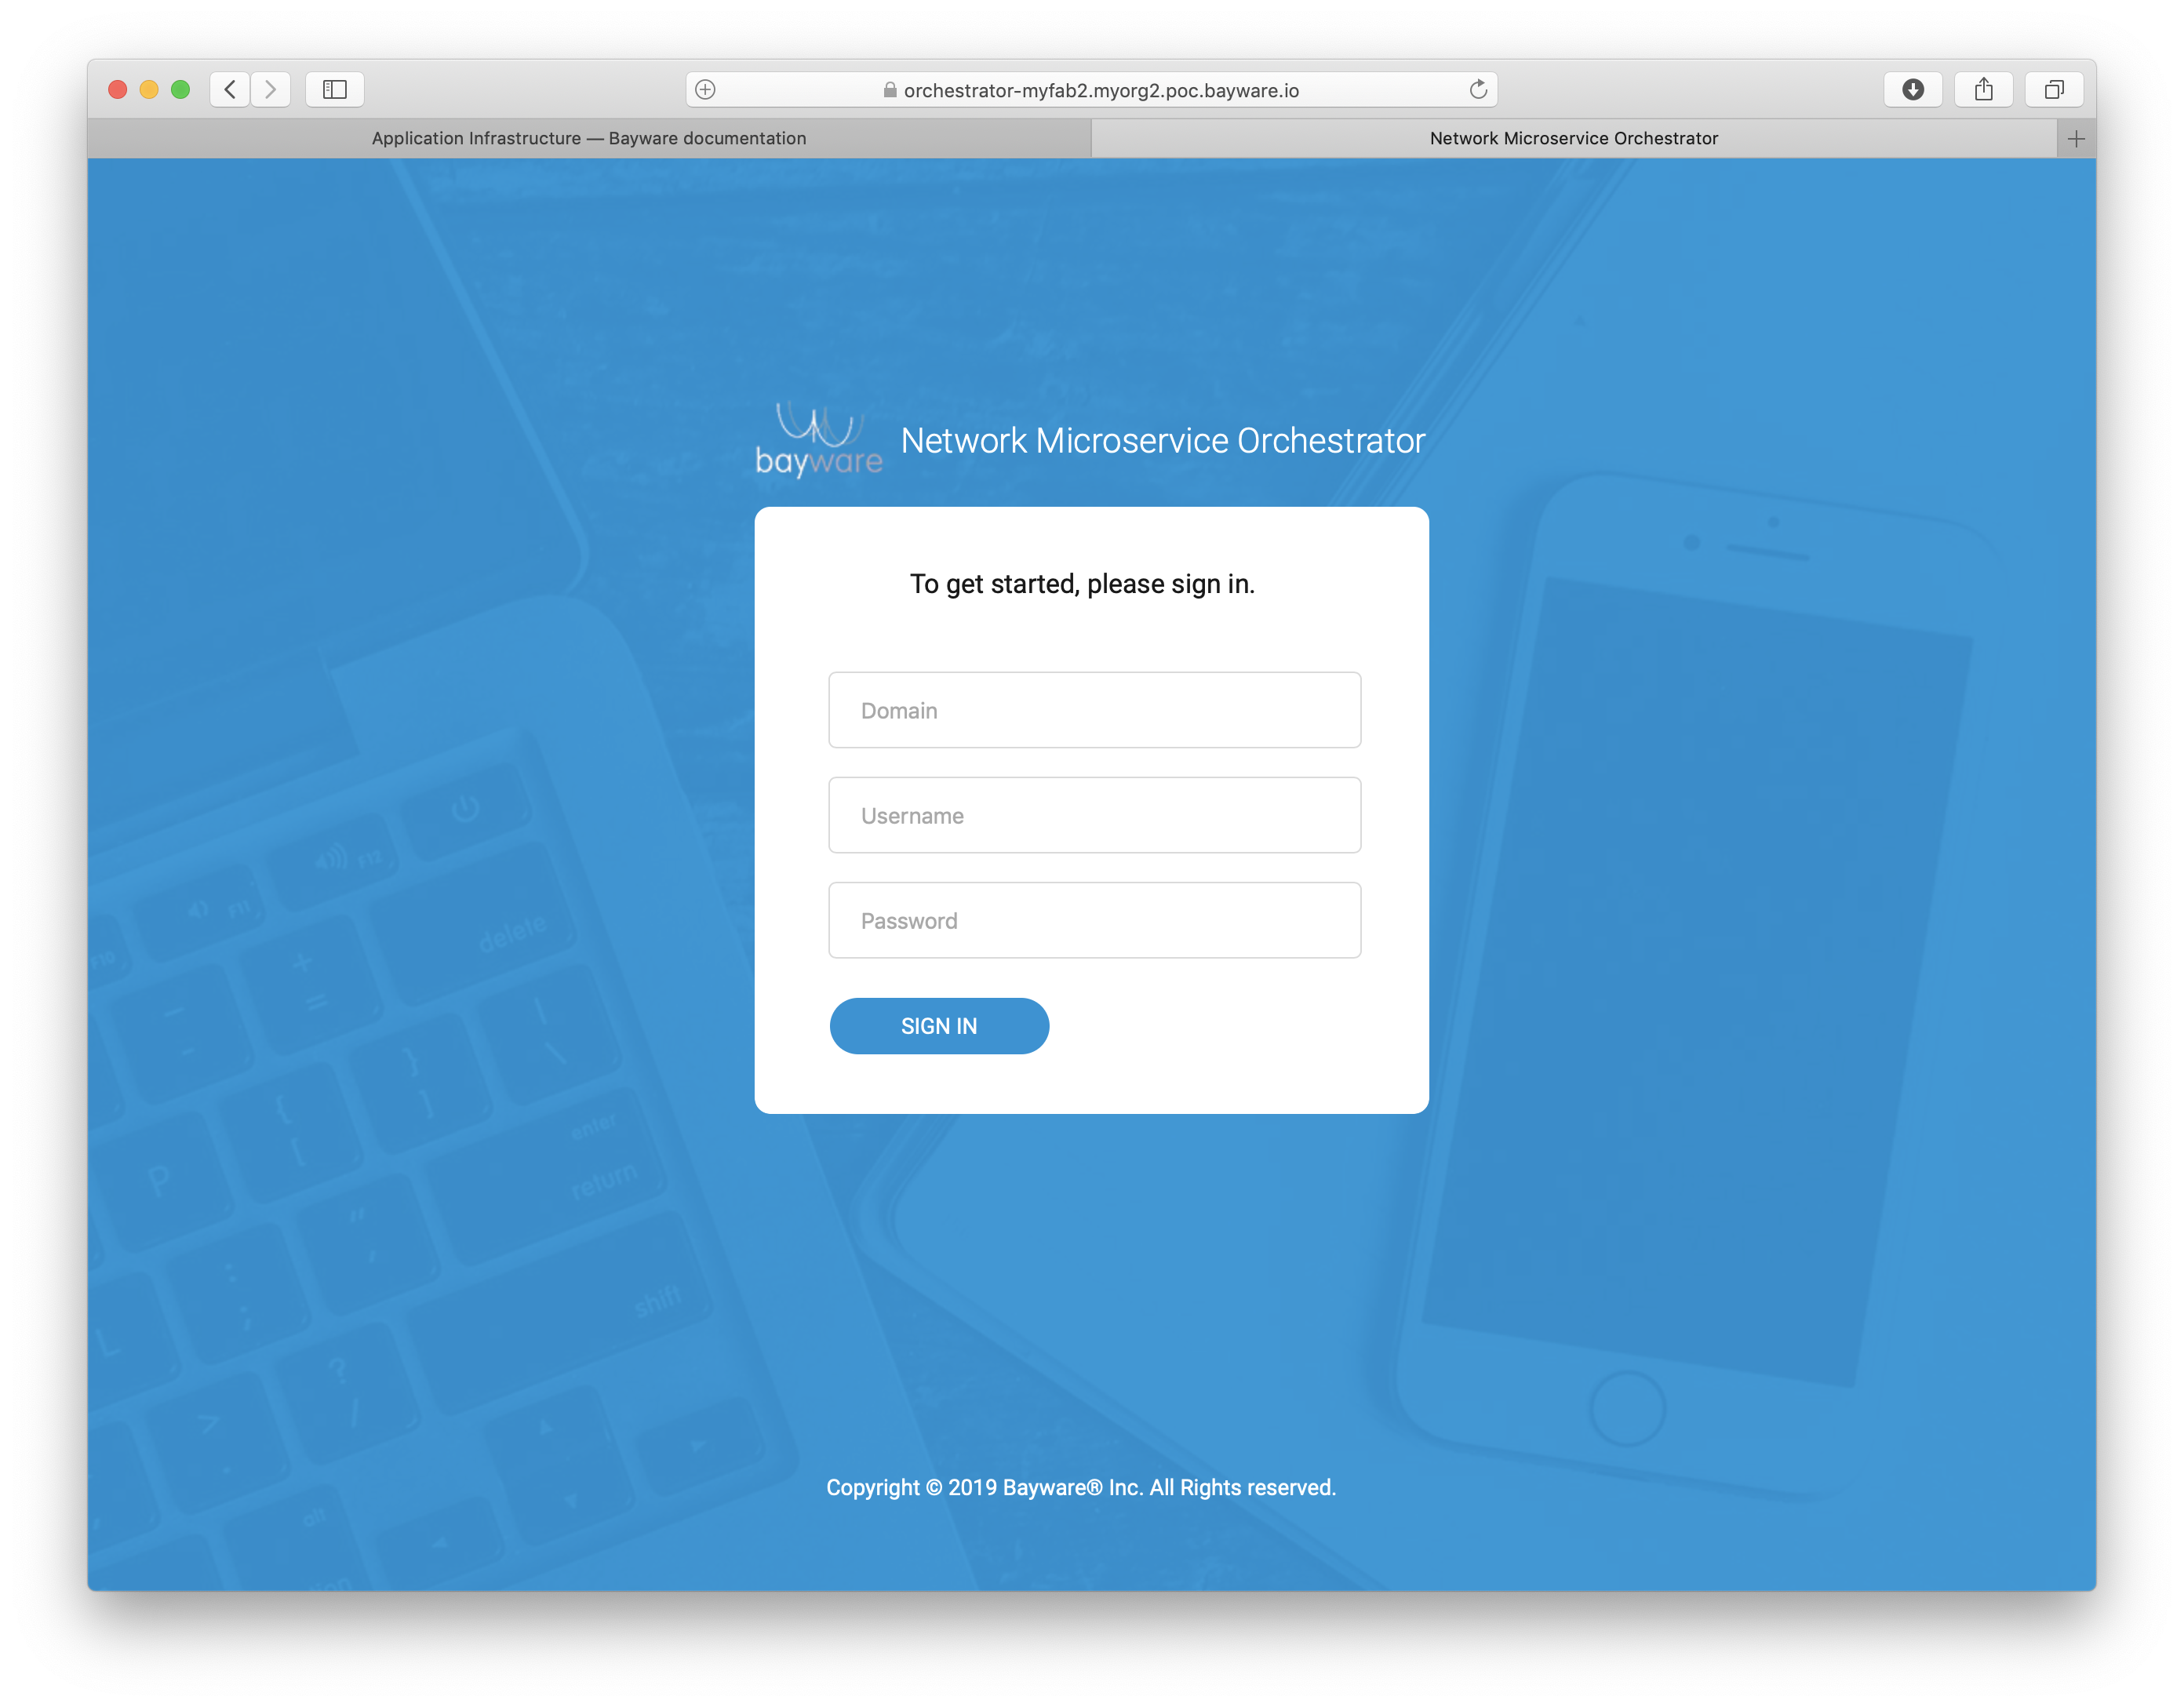
Fig. 119 Fig. Orchestrator Login Page
Create Telemetry Node
To create a telemetry node for the orchestrator, run this command with the orchestrator VPC name–in this example azr1-vpc-myfab2 –as argument:
]$ bwctl> create orchestrator telemetry azr1-vpc-myfab2
You should see output similar to:
[2019-09-25 22:01:58.323]  Creating new orchestrator 'azr1-c02-myfab2'...
...
[2019-09-25 22:03:55.862]  ['azr1-c02-myfab2'] created successfully
[2019-09-25 22:03:55.905]  Generating SSH config...
Note
The orchestrator node name has been autogenerated. Use this name at the next step.
Next, configure the orchestrator node by running this command with the
orchestrator node name–in this example azr1-c02-myfab2 –as argument:
]$ bwctl> configure orchestrator azr1-c02-myfab2
You should see output similar to:
[2019-09-25 22:04:55.433]  Setup/check swarm manager on orchestrator 'azr1-c01-myfab2'
...
[2019-09-25 22:07:48.390] Orchestrators: ['azr1-c02-myfab2'] configured successfully
Use your browser to verify the telemetry node is up and running. From the
orchestrator GUI open in your browser, click on Telemetry in the sidebar
navigation menu. A new window will open in your browser similar to the one
shown below.
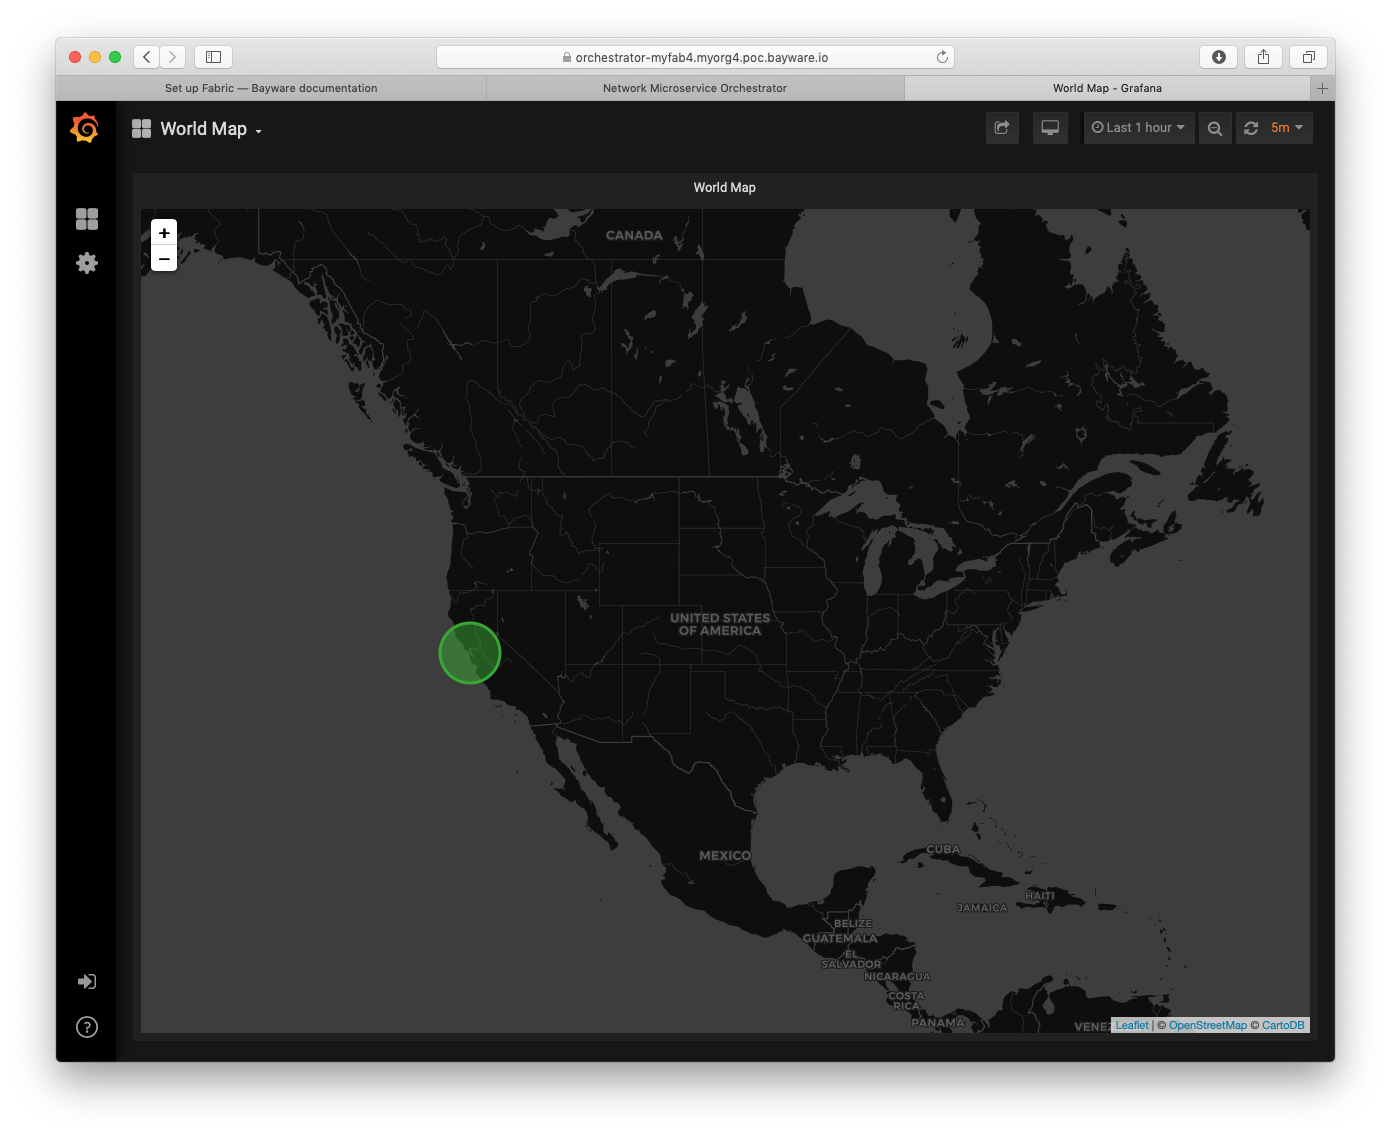
Fig. 120 Telemetry Home Page
Create Events Node
To create an events node for the orchestrator, run this command with the orchestrator VPC name–in this example azr1-vpc-myfab2 –as argument:
]$ bwctl> create orchestrator events azr1-vpc-myfab2
You should see output similar to:
[2019-09-25 22:50:35.536]  Creating new orchestrator 'aws1-c03-myfab2'...
...
[2019-09-25 22:52:34.133]  ['aws1-c03-myfab2'] created successfully
[2019-09-25 22:52:34.178]  Generating SSH config...
Note
The orchestrator node name has been autogenerated. Use this name at the next step.
Next, configure the orchestrator node by running this command with the orchestrator node name–in this example azr1-c03-myfab2–as argument:
]$ bwctl> configure orchestrator azr1-c03-myfab2
You should see output similar to:
[2019-09-25 23:00:04.972]  Setup/check swarm manager on orchestrator 'aws1-c01-myfab2'
...
[2019-09-25 23:02:51.605]  Orchestrators: ['azr1-c03-myfab2'] configured successfully
Use your browser to verify the events node is up and running. From the
orchestrator GUI open in your browser, click on Events in the sidebar
navigation menu. A new window will open in your browser similar to the one
shown below.
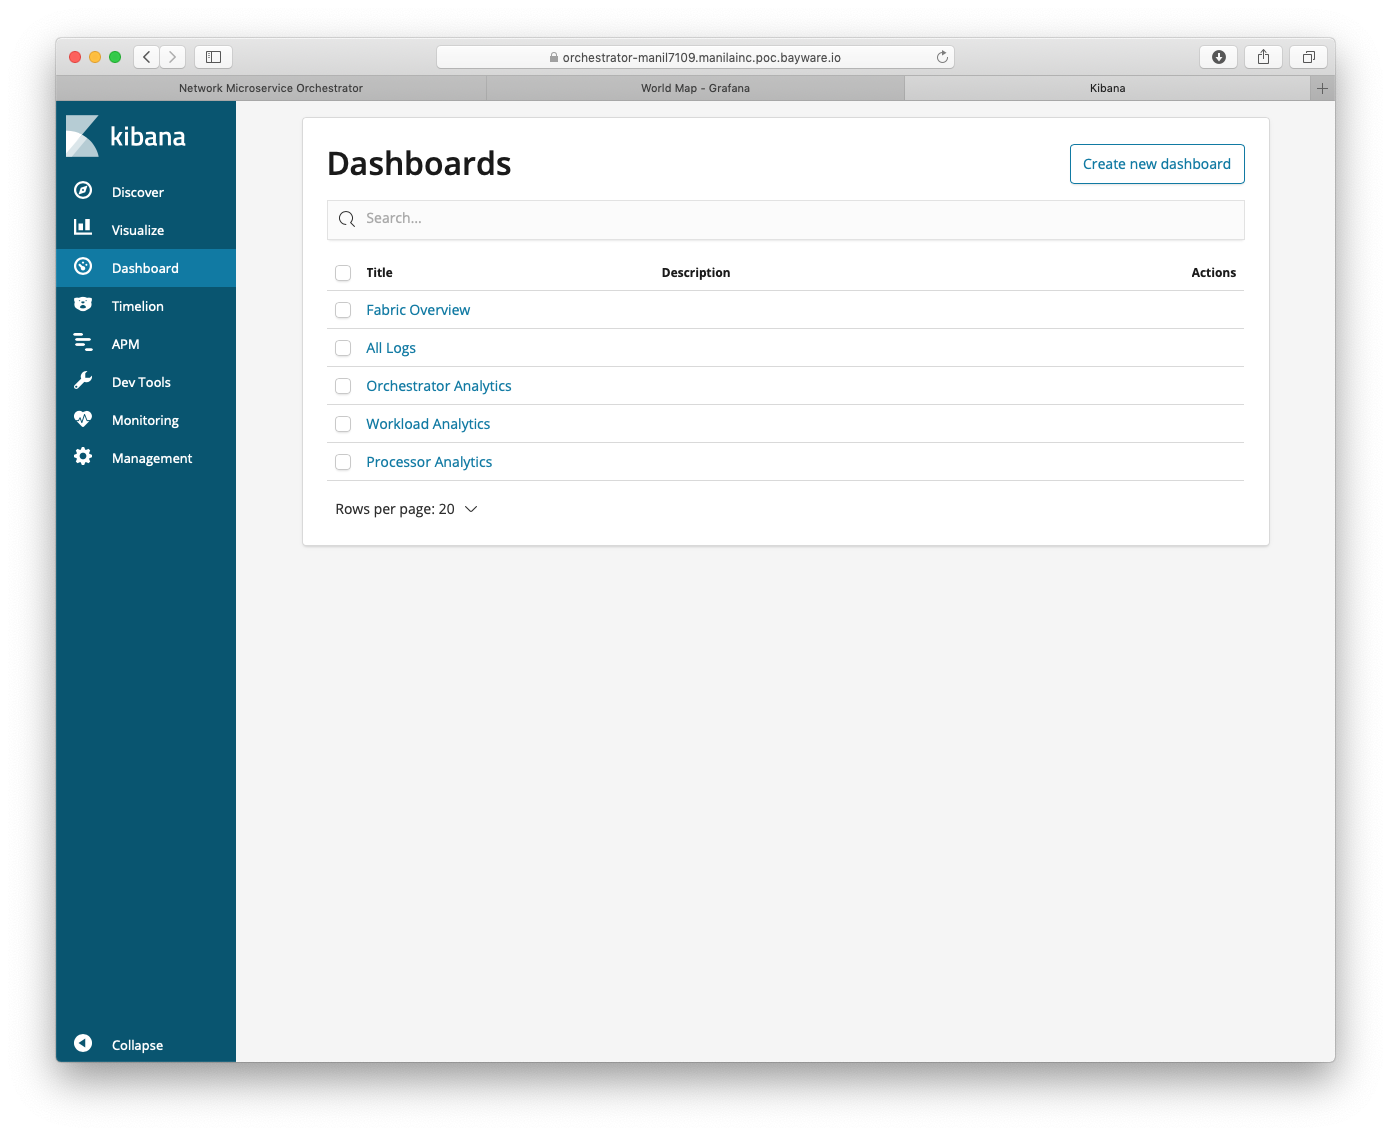
Fig. 121 Events Home Page
Delete Orchestrator Node
You can delete Telemetry or Events node at any time, without interruption of your application functionality.
To delete the orchestrator node, run this command with the orchestrator node
name–in this example azr1-c03-myfab2 –as the argument:
]$ bwctl> delete orchestrator events azr1-c03-myfab2
You should see output similar to:
[2019-09-26 22:39:00.134]  Deleting orchestrator 'aws1-c03-manil7109'...
...
[2019-09-26 22:41:31.939]  Orchestrator 'aws1-c03-manil7109' deleted successfully
[2019-09-26 22:41:31.963]  Generating SSH config...