Create Resource Connectivity Policy
Preparation
To set up the resource connectivity policy in your service interconnection fabric you will need an access to the fabric manager and the policy orchestrator created in the prior step.
All the tasks presented in this tutorial can be accomplished using either orchestrator Web-interface or BWCTL-API command-line tool. The tutorial shows how to perform them in BWCTL-API CLI.
Note
This tutorial will take approximately 10 minutes to complete.
Update BWCTL-API Tool
To make sure you are working with the latest version of software, update the BWCTL-API CLI tool already installed on your fabric manager node. To do this, you will need to SSH into the fabric manager node and switch to root level access to update all packages as such:
]$ sudo su -
Next, to update BWCTL-API, run this commands:
]# apt-get update
]# apt-get --only-upgrade install bwctl-api
To exit from the current command prompt once you have completed updating, run this command:
]# exit
Configure BWCTL-API
Before you can run BWCTL-API, you must configure the tool with your orchestrator credentials from the prior step:
- Orchestrator URL - FQDN of orchestrator NBI
- Domain - default
- Username - admin
- Password - PASSWORD from the prior step.
You store configuration locally in the file called config.yaml located at
~/.bwctl-api/config.yml.
To edit information in the config.yml file, run this command:
]$ nano /home/ubuntu/.bwctl-api/config.yml
After editing, the config.yml file in this example contains:
hostname: 'orchestrator-myfab2.myorg2.poc.bayware.io'
domain: 'default'
login:  'admin'
password: 'RWpoi5RkMDBi'
Set up Zone
To set up resource policy for the processor and workload nodes you have already created, all you need is to put them in security zones.
Create Zone
First, create the new zone by running this command with a desired zone name
(any string without spaces)–in this example azure-uswest as an argument:
]$ bwctl-api create zone azure-uswest
You should see output similar to this:
[2019-09-26 19:26:52.543] Zone 'azure-uswest' created successfully
Add Processor to Zone
Next, assign the processor to the zone by running this command with the
processor name–in this example azr2-p01-myfab2 as an argument:
]$ bwctl-api update zone azure-uswest -a azr2-p01-myfab2
You should see output similar to this:
[2019-09-26 19:27:58.424]  Processor 'azr2-p01-myfab2' assigned to zone 'azure-uswest'
[2019-09-26 19:27:58.424]  Zone 'azure-uswest' updated successfully
Add Workload to Zone
Finally, put the location with workload nodes into the zone by running this
command with the location name–in this example azr2 as an argument:
]$ bwctl-api update location azr2 -z azure-uswest
You should see output similar to this:
[2019-09-26 19:29:29.498] Location 'azr2' updated successfully
Note
Node’s default location name is the left outmost part of the name of the VPC, in which the node is created, as for example: vpc-name: azr2-vpc-myfab2 ==> location-name: azr2
At this point, you can open the orchestrator resource graph page and see the workload node now is connected to the processor node.
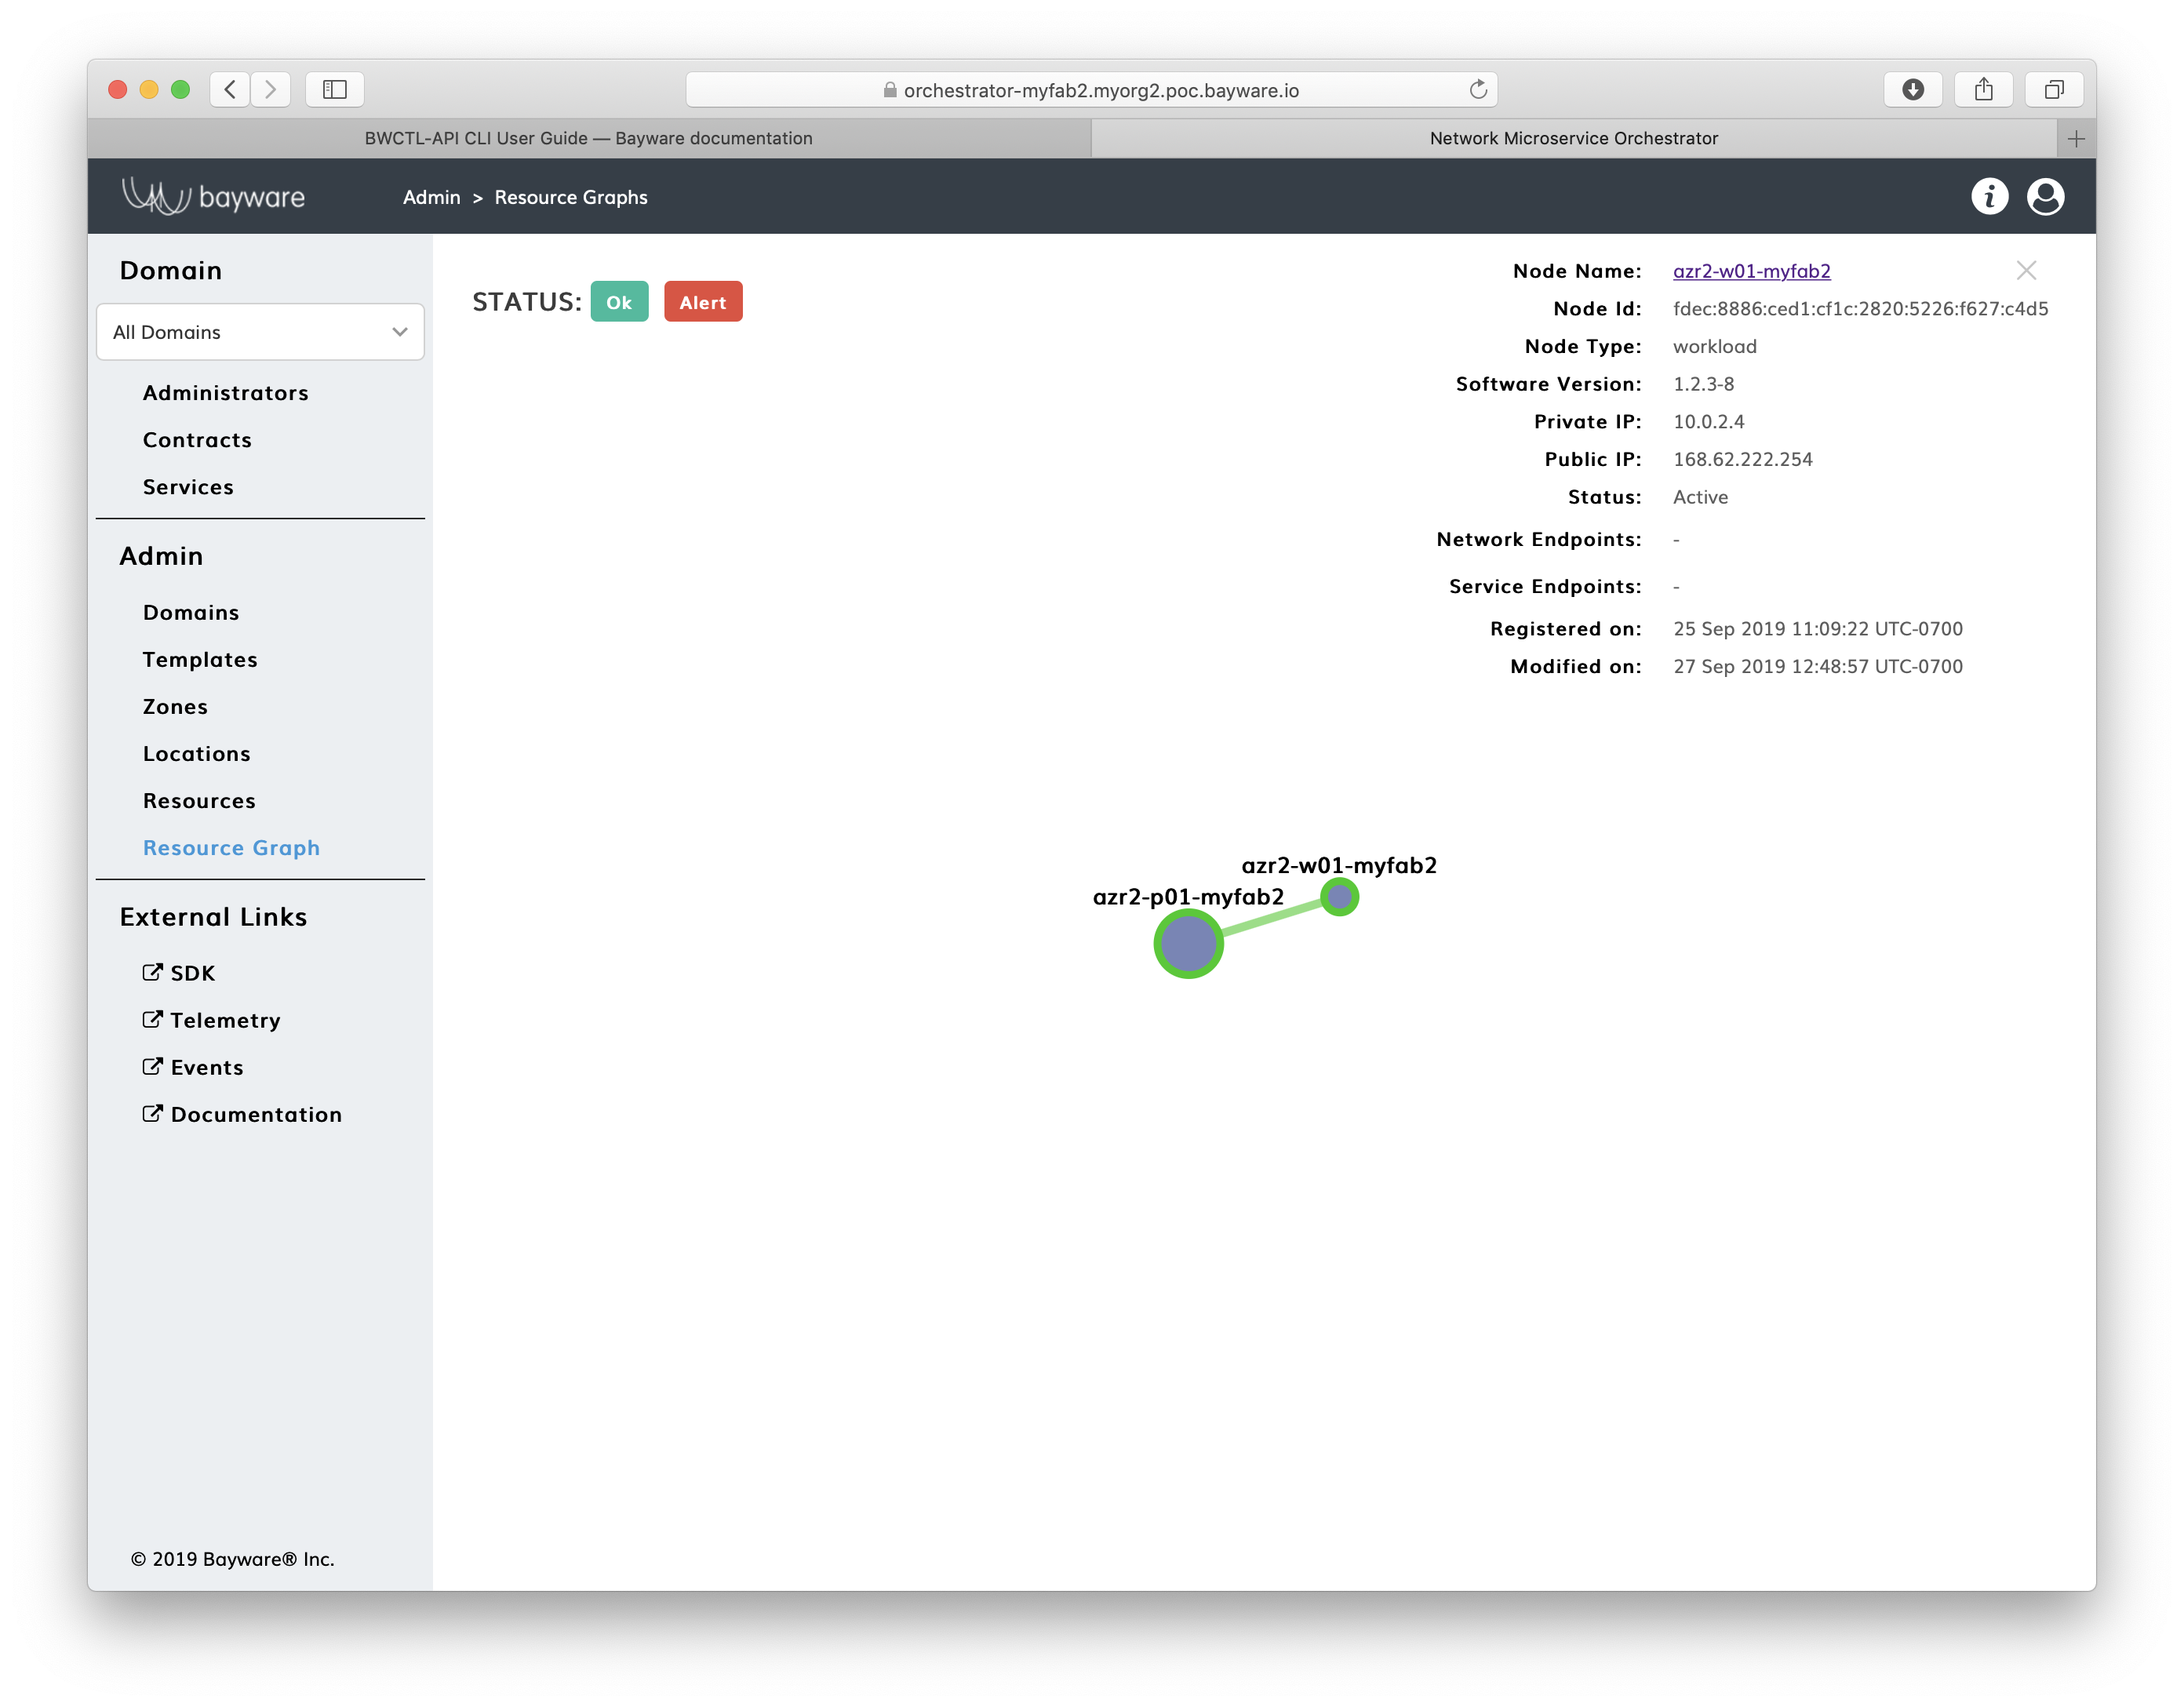
Fig. 12 Fig. Orchestrator Resource Graph Page
Interconnect Zones
To interconnect zones, you must specify a link between two processor nodes located in the zones. In the link specification, you can use references to already deployed nodes or nodes you are planning to create later.
Declare Processor
If the processor node doesn’t exist yet, declare the node by running this
command with the expected node name–in this example gcp1-p01-myfab2 as an
argument:
]$ bwctl-api create resource gcp1-p01-myfab2 -type processor -l default
You should see output similar to this:
[2019-09-26 19:30:16.487] Resource 'gcp1-p01-myfab2' created successfully
Specify Link
To specify a link between nodes, run this command with the source and target
processor node names–in this example azr2-p01-myfab2 and gcp1-p01-myfab2 as
arguments:
]$ bwctl-api create link -s gcp1-p01-myfab2 -t azr2-p01-myfab2
You should see output similar to this:
[2019-09-26 19:30:52.559] Link 'azr2-p01-myfab2_gcp1-p01-myfab2' created successfully
At this point, you can open the orchestrator page called Resources and see the
operational status of your resources– active for already running nodes and
init for declared-only nodes.
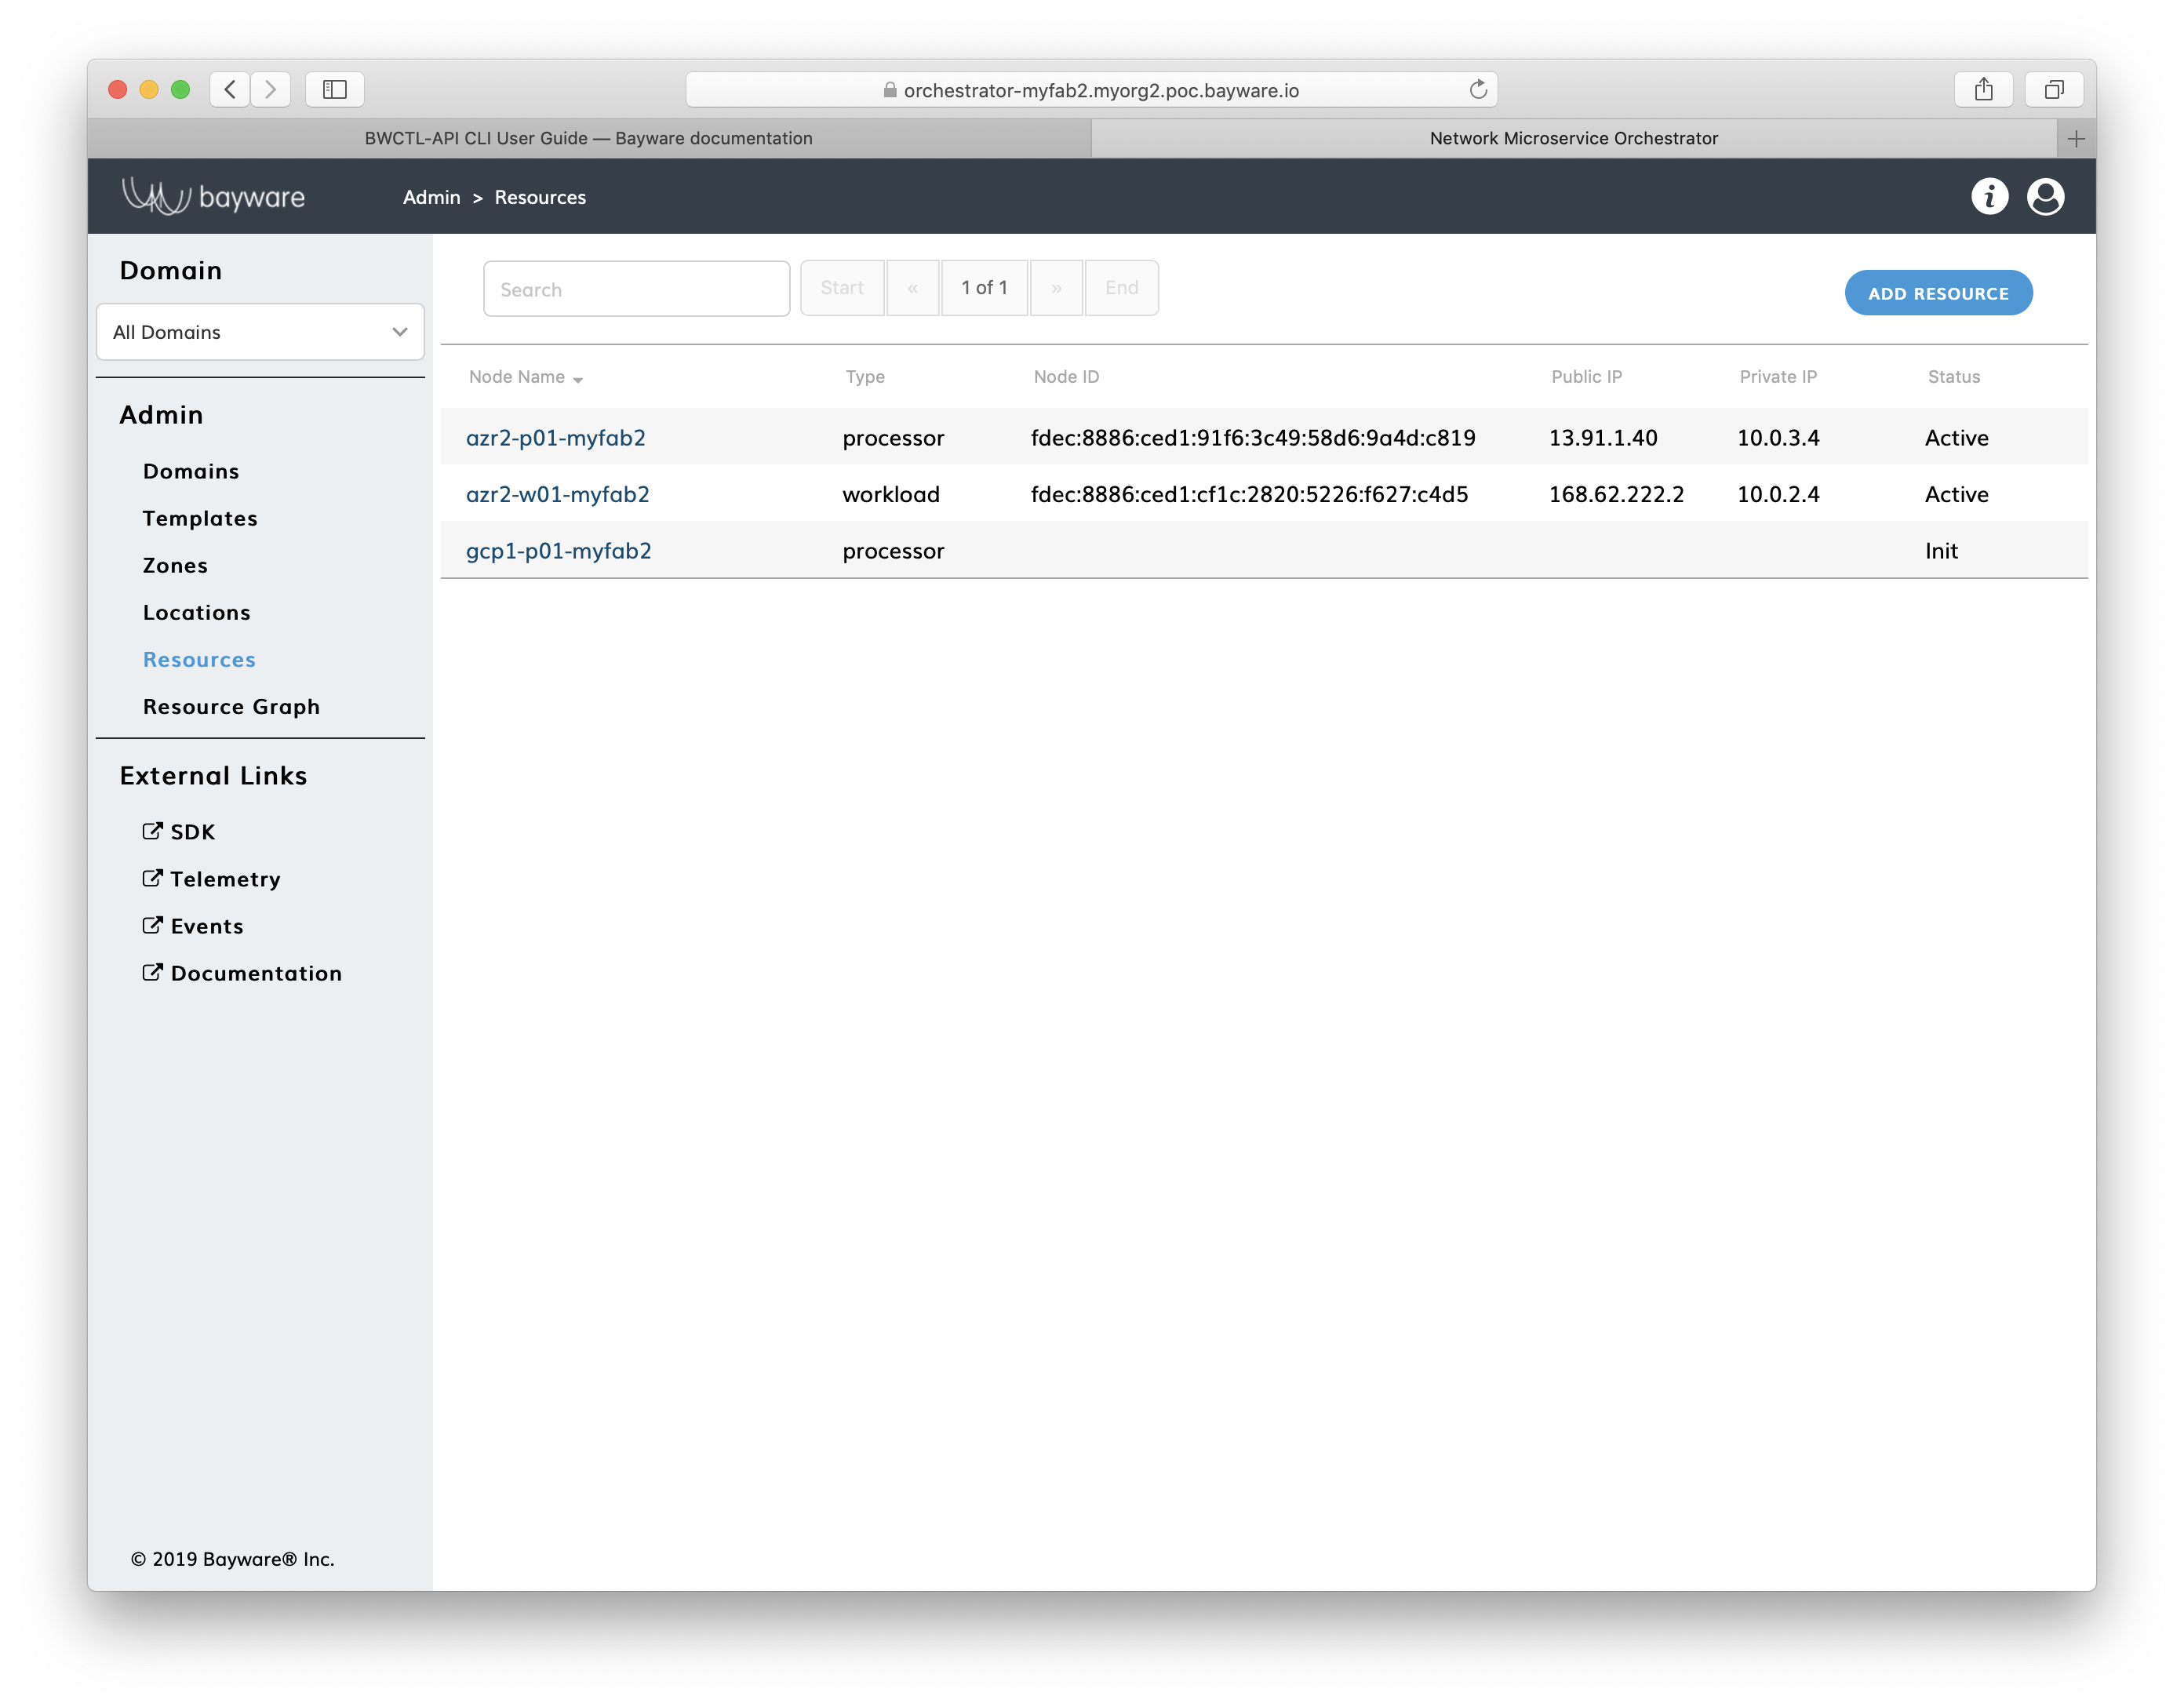
Fig. 13 Fig. Orchestrator Resources Page
Summary
Review Steps
In a couple steps you have created and applied the resource interconnection policy for your workload nodes.
In step one, the workload node location received permission to join the fabric using a particular processor, so the workload node automatically established a security association with the processor.
In step two, the processor was authorized to automatically connect to another processor–as soon as the latter is deployed–establishing in this way a secure communication channel between clouds for workload nodes.
Next Step
At the next step, you will create infrastructure-agnostic service interconnection policy for your application. As for now, each processor node keeps acting in its default-deny mode by blocking all data communications from the workload nodes attached to it.